Creating Animations
This page shows how to use the Timeline Editor to create animations to go with a slide.
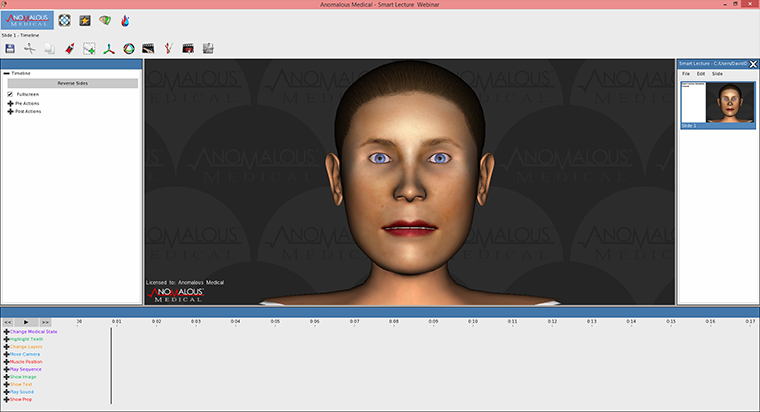
This is the main timeline view where animations are created. When editing a slide in the authoring tools click the timeline editor button to create an animation for that slide.
Quick Tip: Save Often and keep timelines short. We recommend keeping timelines to 10 seconds or less for each slide.
Timeline Ruler
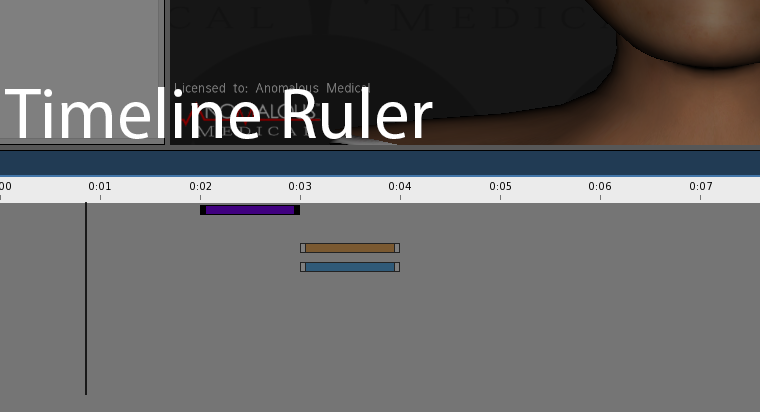
The timeline ruler is segmented into seconds. You can click on a time to move the timeline indicator to that time. Please note that if your animation contains simulation aspects it might not play the same way if you start it halfway through as it would at the beginning since the simulation might not be in the same state. However, playing an animation from the start should work consistently.
Timeline Indicator
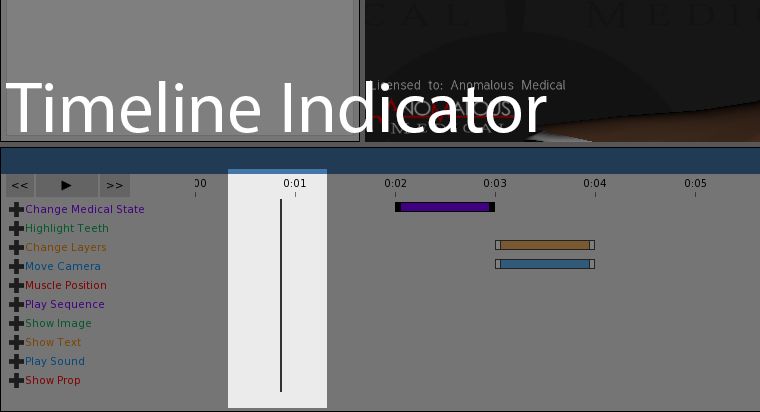
The timeline indicator is the horizontal bar on the animation timeline.
To move the timeline indicator hover over it with the mouse cursor until the double arrow mouse cursor appears. Click the left mouse button and hold it to drag the timeline indicator wherever you want to on the timeline. You can also left or right click anywhere on the Timeline ruler to move the timeline indicator there.
Timeline Controller
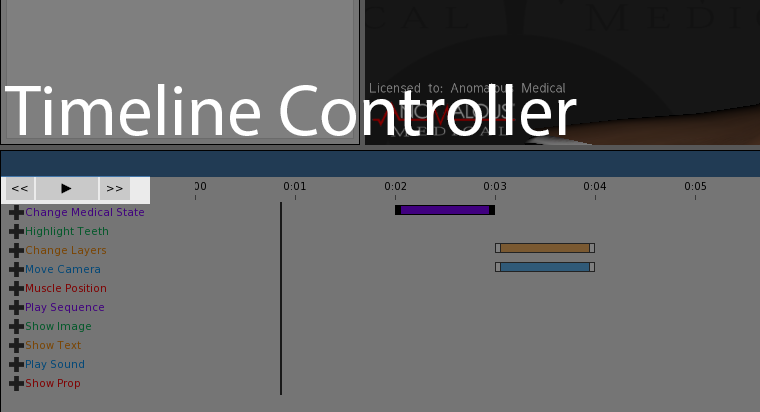
These are the playback controls for a timeline.
Left Arrow - Click the left arrow to bring the timeline indicator back to the beggining.
Right Arrow - Click on the right arrow to move the timeline indicator forward ten seconds.
Play - Click on the play butto to play the timeline from the position of the timeline indicator
Timeline Actions
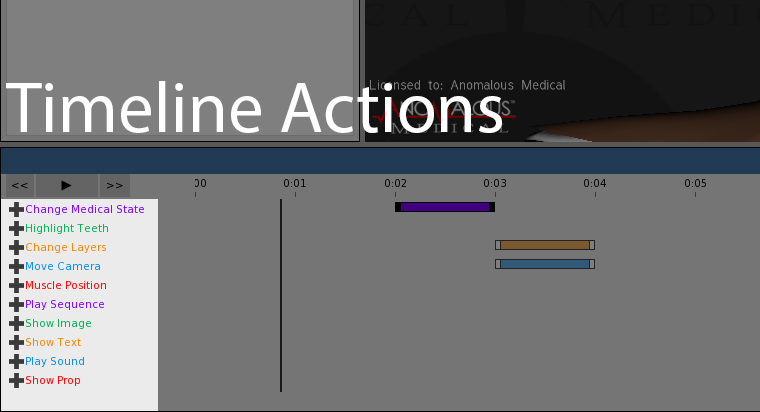
There are currently 10 actions available in the animation timeline editor: change medical state, highlight teeth, change layers, move camera, play sequence, muscle position, show image, show text, play sound, and show prop. Each one of these changes a particular aspect of the scene at the time it is activated.
Adding Actions
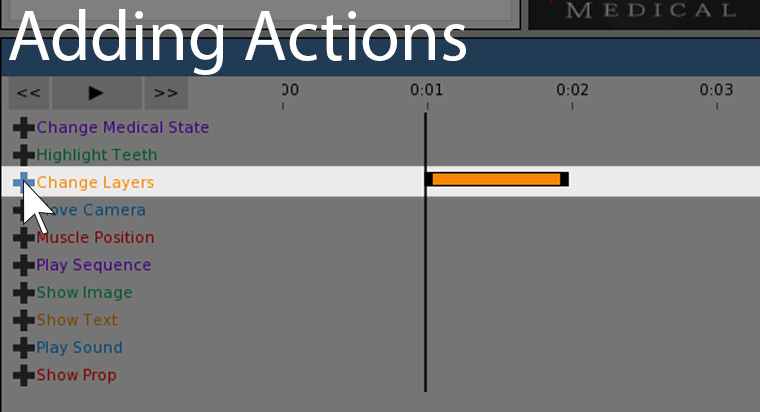
Click on the plus sign symbol next to the action to add it to the timeline. The plus sign will turn blue when the mouse cursor hovers above it. Actions are added to wherever the timeline indicator is positioned on the timeline. Move the timeline indicator to where you want to place an action.
Moving Actions
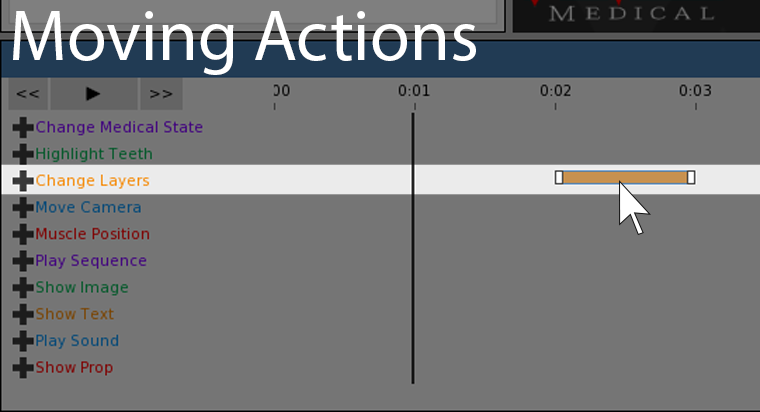
Move already placed actions by left clicking and holding on them and then dragging them to where you want them on the timeline.
Capture Action
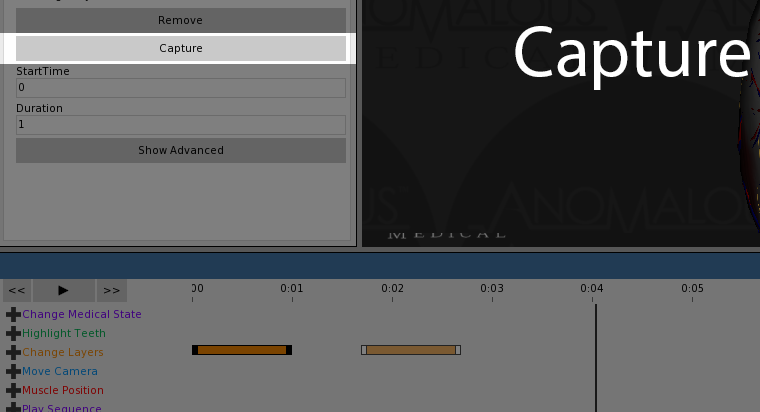
Many actions will have a capture button when they are highlighted. This will grab the current scene state for whatever the currently selected action is. The state will also be captured when you add an action, but you can use this button to update it.
